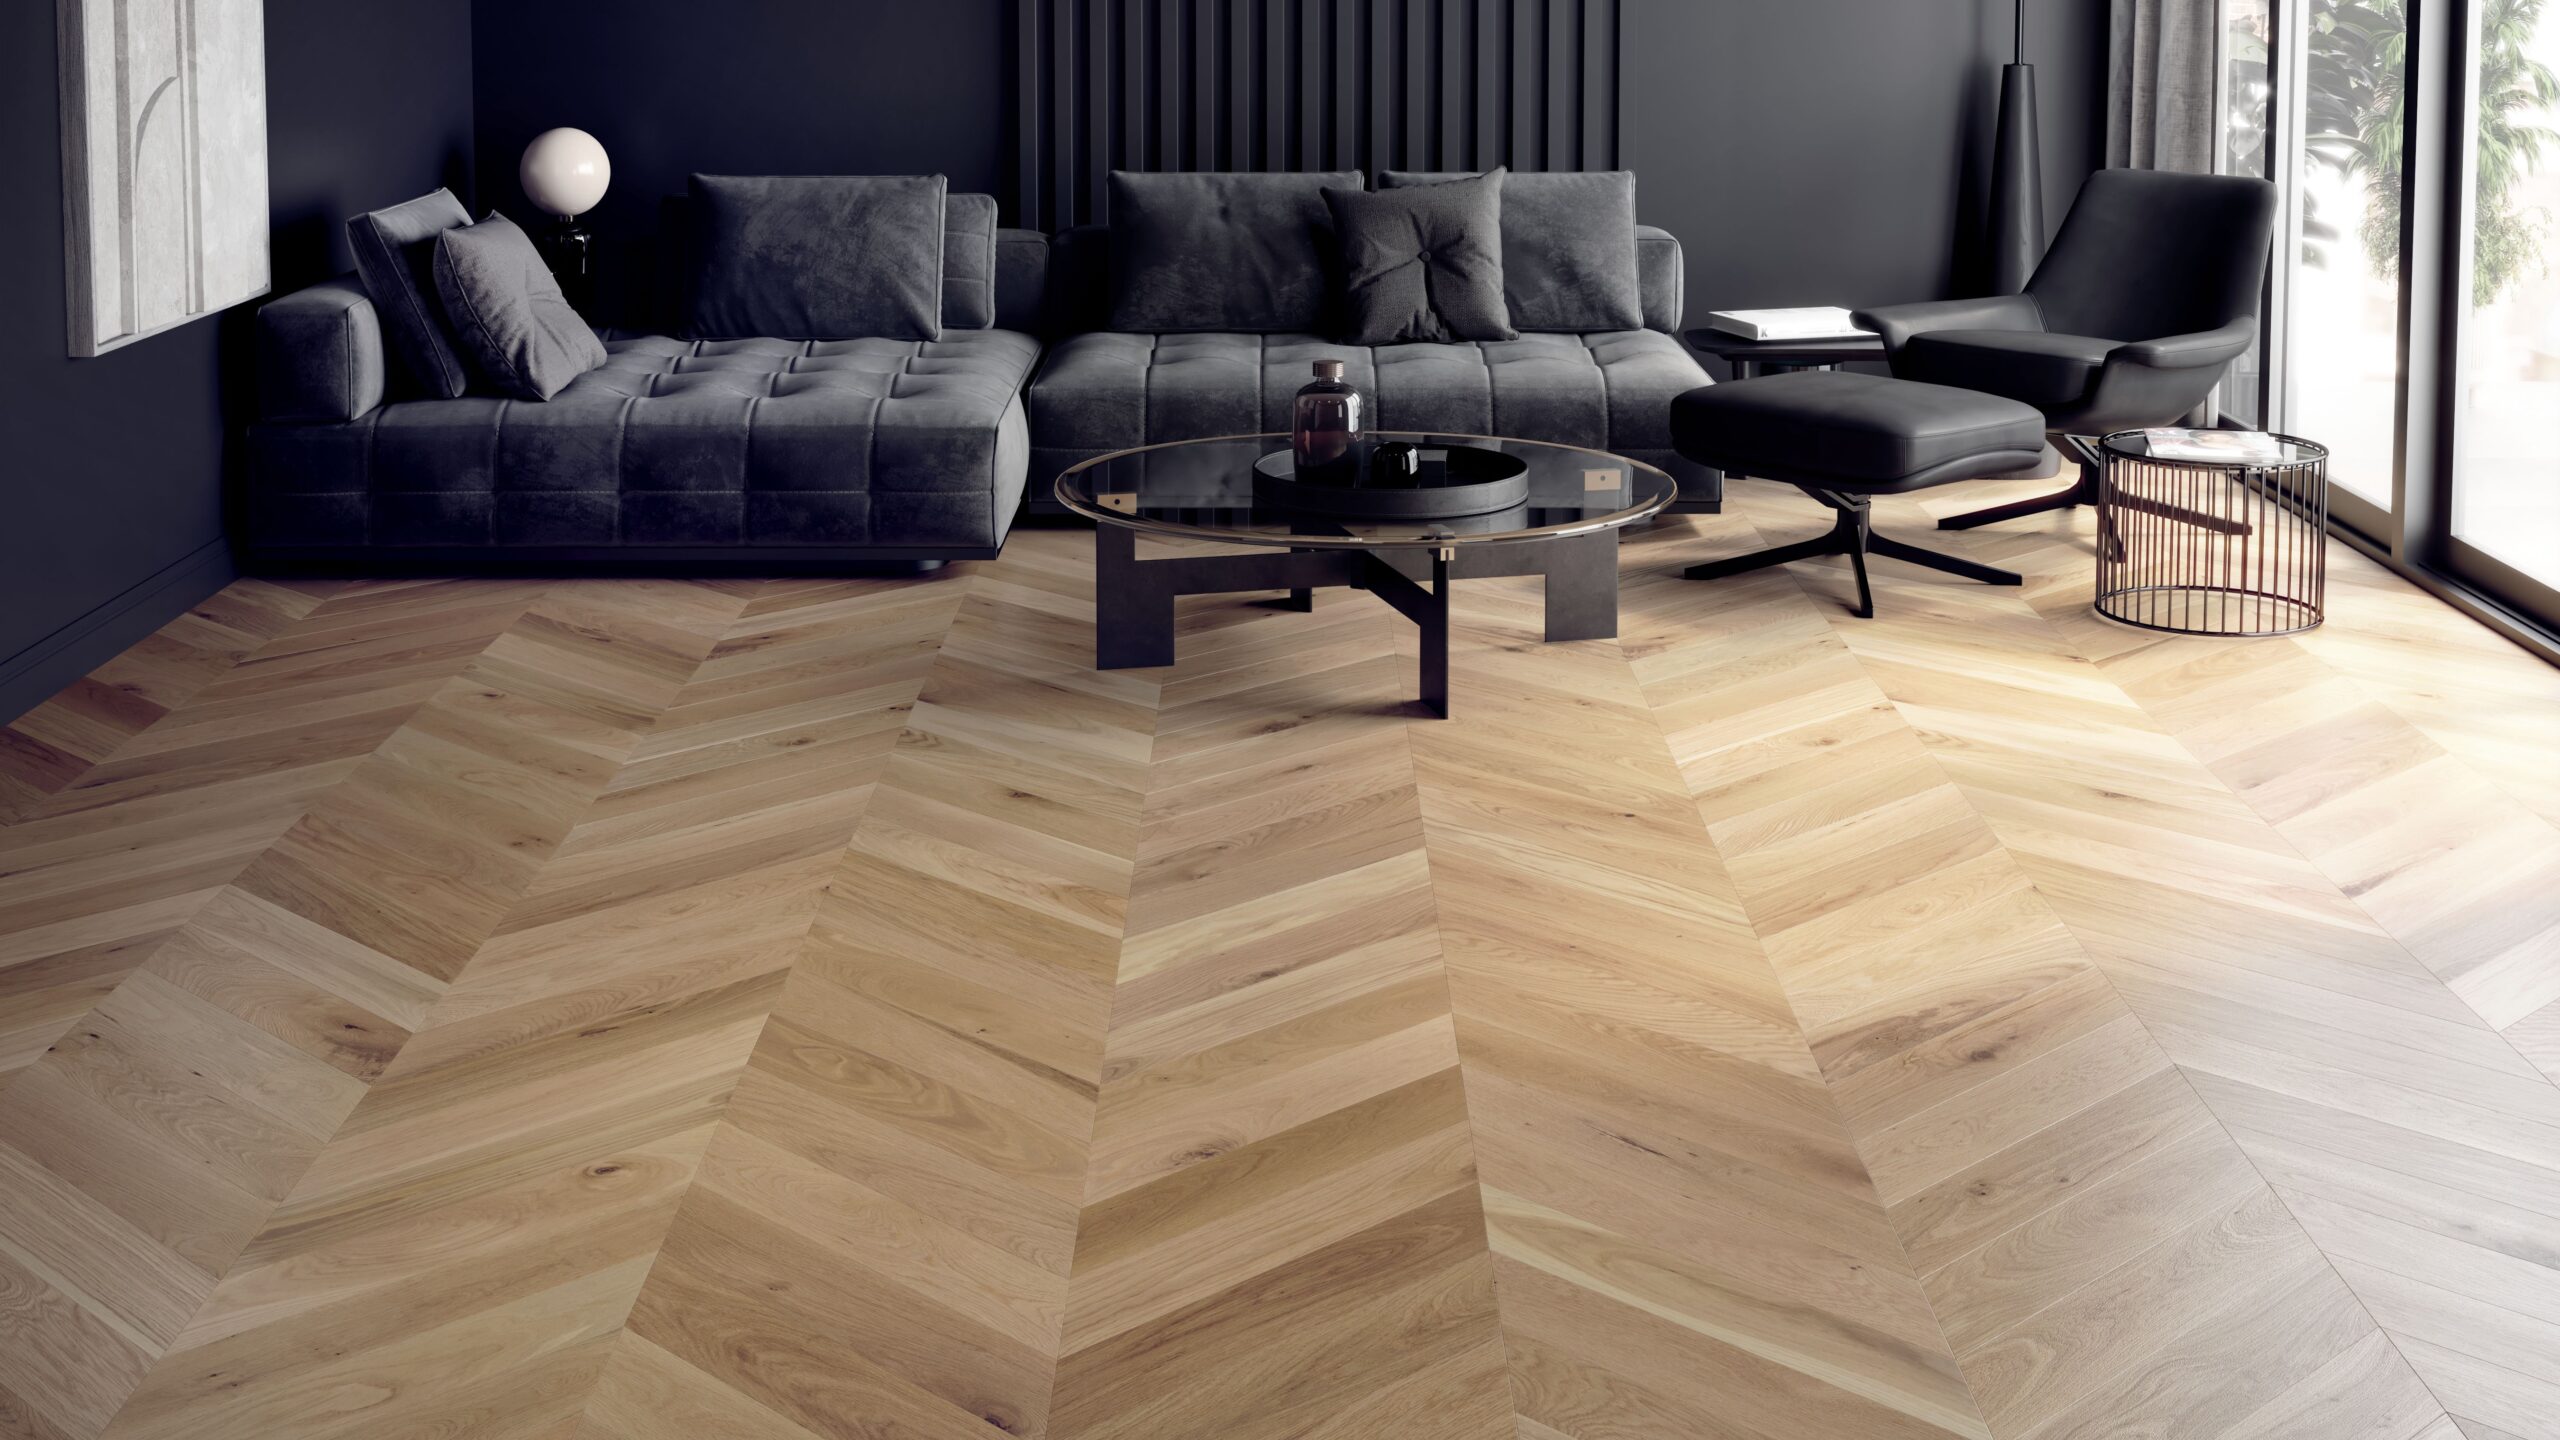
When it comes to remodeling or upgrading your home, installing a new floor is among the most impactful changes you can make. It not only revitalizes the look of your home but also potentially increases its value. However, before the excitement of selecting a new flooring material—from hardwood and tile to luxury vinyl and laminate—comes the critical step of floor preparation. Proper floor prep ensures a smoother installation process, optimal flooring performance, and longevity. Let’s walk through the essential considerations, including time frames, the order of operations, and aspects of professional installation, as well as managing dust and caring for your new floor.
Pre-Installation: Understanding Time Consideration
Timing is a crucial consideration in preparing for new floor installation. The entire process, from removing existing flooring to the installation of the new one, can vary widely in duration depending on the size of the area and the type of flooring material. Typically, it’s wise to allocate:
- 1-2 days for removal of the old flooring (depending on the condition of the subfloor, allow more time before the floor leveler application)
- 1-3 days for floor leveling and repairs
- 1-2 days for the installation of most flooring types, with some exceptions such as complex tile layouts or refinishing of hardwood floors, which may take longer.
Begin by consulting with a professional to get an accurate timeline for your specific scenario. Renovation Flooring offers professional installation services, so you can contact us for a free estimate for the materials as well as installation for your specific floor remodel project.
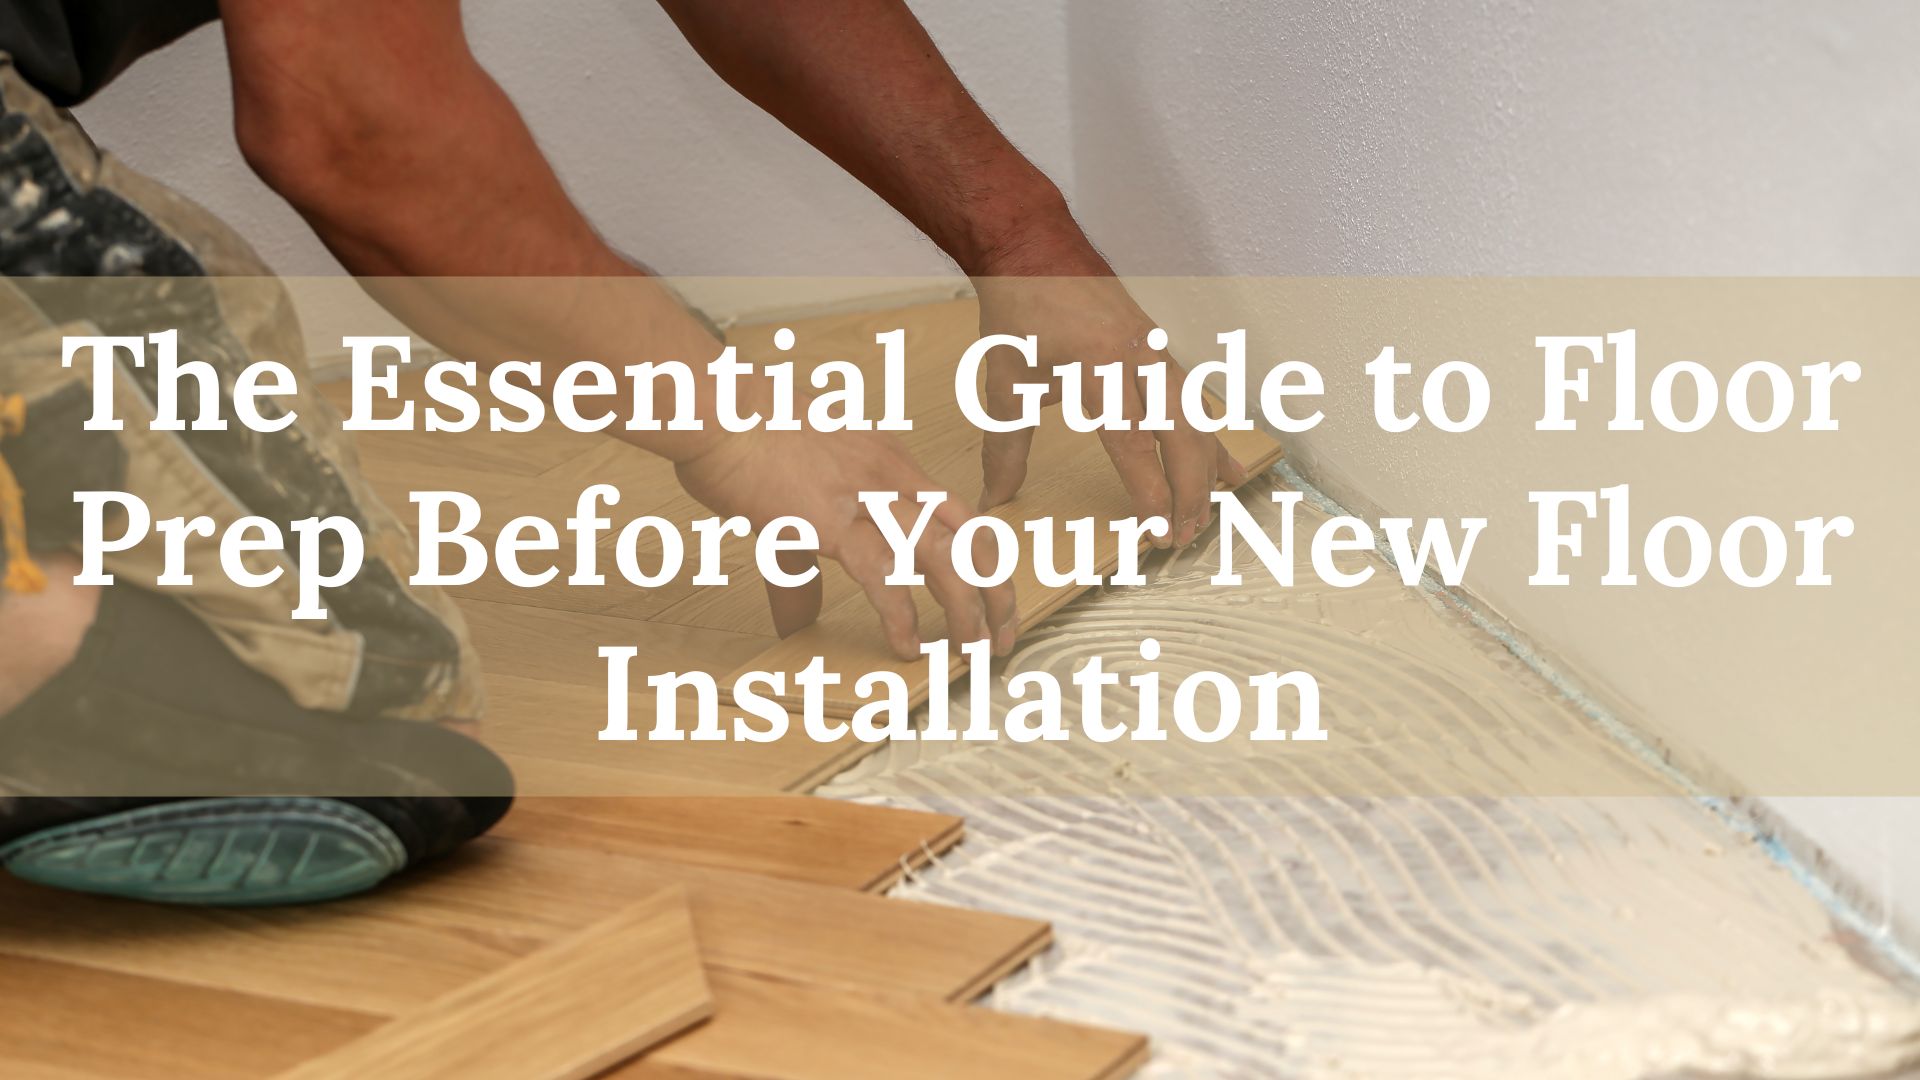
The Order of Things to Get Done
- Remove Existing Flooring: It’s essential to carefully remove the old flooring to avoid unnecessary damage to the subfloor.
- Repair and Level the Subfloor: The subfloor must be smooth, clean, and flat. Repair any damage and ensure it’s dry and flat, as imperfections will affect the final look and feel. Floor Prep labor can be accomplished by physical manipulation of the subfloor, such as grinding or sanding, or by using flooring specific products such as self levelers or patch materials. Most likely a combination of the two will be necessary. Remember, before using leveling products, it is imperative to prime the floor first.
- Underlayment Installation: Some flooring types, like laminate and luxury vinyl, require an underlayment for moisture protection and noise reduction.
Professional Installation Benefits
While DIY projects can be rewarding, professional floor installation comes with numerous benefits. Experts can foresee potential issues, ensure correct material handling, and significantly reduce waste through efficient layout and cutting. Moreover, professionals will have the necessary tools and experience to adhere to the timeline and mitigate common pitfalls. Most subfloor problems are hard to see with the naked eye and only present themselves to the DIY customer after it is too late. Professional installers know the tolerances suitable for each type of flooring and can rely on previous experience to get the subfloor right before starting the job. Most reputable professional installation companies will also offer some type of installation warranty to ensure the job will last for years to come. At Renovation Flooring, all residential installations come with a 3 year installation warranty.
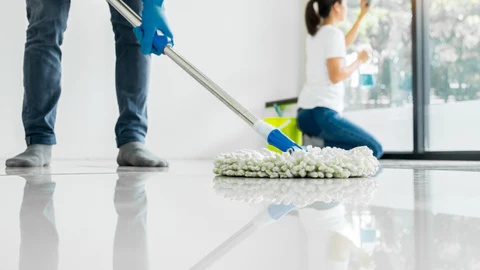
Managing Dust and Debris
Floor removal and preparation can generate a significant amount of dust and debris. Here are a few tips to manage this aspect:
- Use dust barriers to contain the area.
- Employ professional-grade dust extractors and vacuum systems.
- Sealing vents and openings can prevent the spread of dust to other areas of the house.
- Regular cleaning throughout the process helps manage dust efficiently.
Professional installation crews will provide all the necessary tools and materials to reduce the accumulation of dust during the floor renovation. Your new floor installation is seamless and all you have left is to just enjoy your new floor when it’s all done!
New Floor Care
Caring for your new floor is not just about maintaining its appearance; it’s also crucial for preserving its durability and extending its life. Each type of flooring requires specific maintenance protocols and being well-informed about the needs of your particular flooring is paramount.
Hardwood
- Use felt pads under furniture.
- Clean spills immediately.
- Avoid using water and vinegar, steel wool, or steam cleaners.
Tile
- Wipe up spills to prevent slipping or staining.
- Clean with a mild detergent and water.
- Avoid abrasive cleaners that can dull the surface.
Luxury Vinyl
- Use doormats to reduce dirt.
- Clean spills promptly.
- Rinse thoroughly if using soap-based detergents to avoid leaving residues.
Laminate
- Use a microfiber mop or cloth for cleaning.
- Clean spills immediately to prevent warping.
- Avoid polish or wax.
Understanding your specific flooring type empowers you to implement the right care routine, ensuring your floor remains a centerpiece of your home’s beauty and functionality for the longest time possible. Simple steps like prompt spill cleanup, using the correct cleaning solutions, and protecting the floor from scratches and wear can make all the difference in keeping your floor looking like new. Investing time to learn about your floor’s specific care requirements will pay dividends in the long term, both in aesthetics and performance.
Floor preparation is an essential step towards ensuring the longevity and beauty of your new flooring. By understanding the importance of each step, from removal to post-installation care, and considering professional installation, you’ll ensure a successful upgrade to your home’s flooring that will last for years to come. Contact our Renovation Flooring experts for a free estimate for your flooring update.