
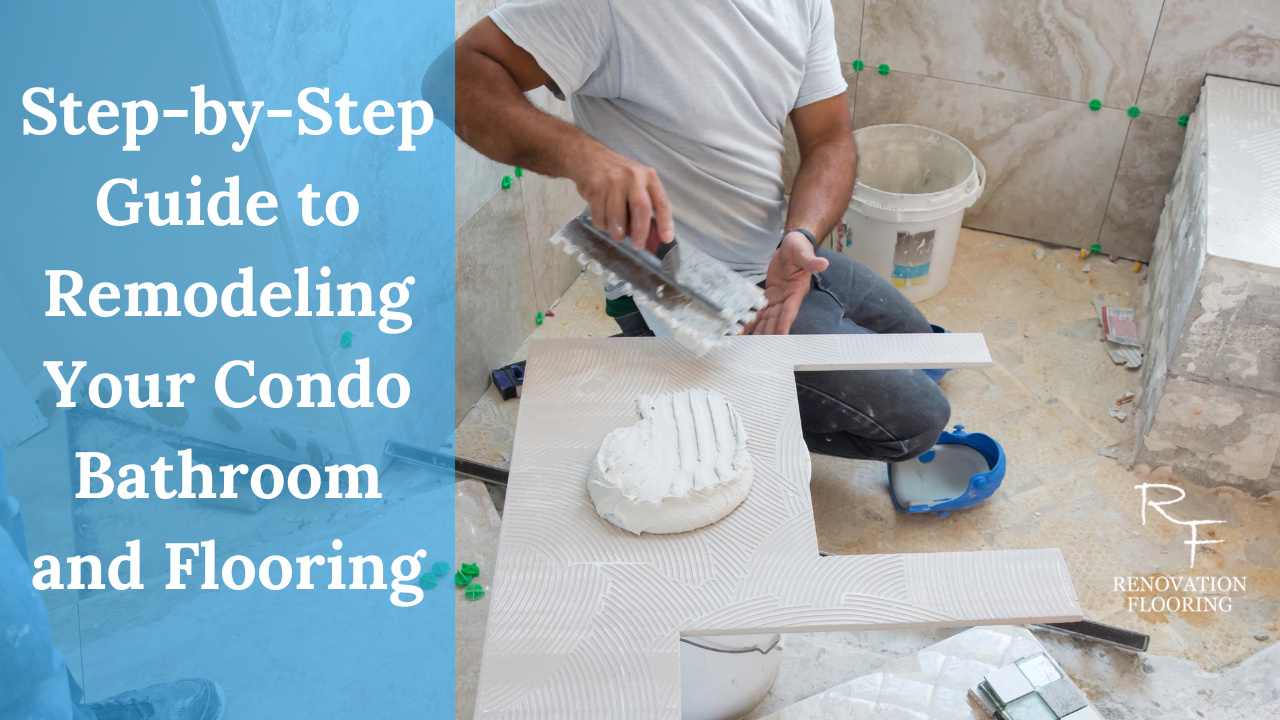
Sure, remodeling a bathroom and updating the flooring in a condo can seem daunting but with the right preparation and assistance, it can be a smooth process. Here’s a step-by-step guide designed to educate condo owners about the process, featuring the services Renovation Flooring provides:

Step 1: Planning and Design
- Determine Your Needs and Wants: List out what you don’t like about your current bathroom and flooring. Consider aspects like space, functionality, and aesthetics.
- Set a Budget: Factor in costs for demolition, materials, labor, and a contingency for unexpected expenses.
- Design Your Space: Consult with a designer or use online tools to visualize the new bathroom and flooring. Consider materials, colors, and layouts that complement your condo’s overall style. Our designers and flooring experts can help you with creating the right feel for your space.
- Select Materials: Choose materials that are durable, fit your budget, and match your aesthetic desires. For bathrooms, consider moisture-resistant options.
Step 2: Hiring Professionals
- Research and Hire Contractors: Look for a reputable company that specializes in demolition, ordering materials, and installation services. Ensure they have experience with condos specifically. At Renovation Flooring, we offer demolition and installation in addition to the extensive line of flooring, tile, stone, mosaic and other wall coverings.
- Verify Licenses and Insurances: Ensure the contractor is licensed to work in your area and has liability insurance to cover any damages or injuries during the project.
- Discuss Timelines and Contracts: Before any work begins, agree on a project timeline and get everything in writing, including the scope of work, payment schedule, and any warranties.

Step 3: Preparing for Demolition and Installation
- Secure Permits: Most condos will require permits for remodeling, especially for significant changes to plumbing or electrical systems. Your contractor should handle this, but ensure you’re aware of all requirements.
- Prep the Space: Clear out personal items, fixtures, and anything that could be damaged during the demolition. This includes removing appliances, toilets, and existing flooring as needed.
- Coordinate with Condo Management: Inform your building’s management of your remodeling plans, especially since demolition and construction can affect neighboring units.
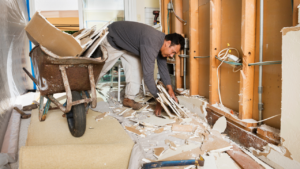
Step 4: Demolition
- Schedule Demolition: Plan for a time that’s least disruptive to you and your neighbors. Your contractor should manage debris removal and disposal.
- Safety Measures: Ensure your contractor takes steps to minimize dust and debris from affecting other areas of your condo.

Step 5: Ordering Materials
- Finalize Selections: With your contractor, finalize your choices for tiles, fixtures, and flooring materials.
- Order Early: Have your contractor order materials early to account for delivery lead times and any possible backorders.
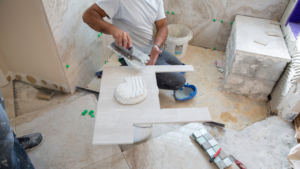
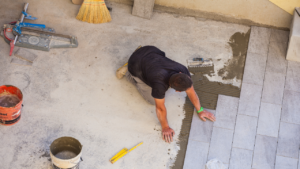
Step 6: Installation
- Prepare for Downtime: Depending on the scope, your bathroom may be out of commission for a while. Make arrangements accordingly.
- Regular Updates: Communicate regularly with your contractor to get updates on progress and to make any necessary decisions promptly.
- Inspect the Work: Before considering the job done, inspect the craftsmanship with your contractor to ensure everything is completed to your satisfaction.

Step 7: Final Touches
- Deep Clean: Once the heavy work is done, have the bathroom and new flooring cleaned thoroughly. Professional cleaning crews have all the necessary tools and cleaning supplies to take off grout and any construction dust left over after the project is complete. Consider hiring the professionals so you can save time and have the project completed before the vacation season.
- Install Accessories: Add your personal touch with new towels, bath mats, and any decorative items to complete the look of your bathroom.

Step 8: Review and Reflect
- Walkthrough: Conduct a final walkthrough with your contractor to ensure all aspects of the project meet your expectations.
- Provide Feedback: Share your experience with the contractor and consider leaving a review to help future condo owners. We always love when our customers share their
By following these steps, condo owners can navigate the process of remodeling their bathrooms and updating their flooring with confidence. Remember, thorough planning, clear communication, and choosing the right professionals are key to a successful renovation project.
The Renovation Flooring team of flooring experts, designers and installers is here to make your condo renovation stress free. Please stop by one of our showrooms in Miramar Beach or Inlet Beach and we’ll be happy to assist you with your flooring and bathroom project!